Taking the perfect picture is not an easy task. Amazon product photography is an art on its ow. In this article, we will give you 7 important tips on how to create outstanding and eye-catching product photos.
You will learn the most important influencing factors such as light, typography, the right camera settings and the right background.
After reading this article, you will have a solid foundation to start creating your own product images.
Light
The first and most important is a bright light source. You can use natural or incandescent light.
If you use natural light, cloudy weather is the best for this purpose, as clouds will distribute the sunlight evenly and you will have beautiful and soft shadows.
You can also photograph on a sunny day, but for this purpose, you will need a diffuser, which we will explain in detail in the next chapter.
Different types of light bulbs will give you different results.
You may think that light automatically means white glow, but that’s not true.

Let’s explain:
With LED or CFL lamps, there’s not much difference. 5000-6400 K light bulbs provide white light and with them, you’re on the right track to create high-converting photos.
Wire Bulbs, the last option, will give you a warm yellow light. Photos will look yellowish, but this can be fixed with the correct white balance settings. How to do that will be explained later.
Important:
Regardless of the type of light you use, try to have only one type of light (natural, LED or wire light). If you are using a wire bulb and LED, or natural light and an ordinary wire bulb, you will not be able to adjust the white balance because you will have white light in one part and yellow light in another part.
For artistic photos that’s fine, but not for high-quality product photos, since they will look odd and amateurish.
Diffuse Your Light Source
A huge source of light from a tiny surface will give your products harsh shadows and a sharp look.
The solution to this problem is to enlarge the area from which the light comes.
When you photograph someone in the middle of a sunny day, they will have sharp shadows on their face.
But on a cloudy day, the photos will look softer. In such cases, clouds are our diffusers.
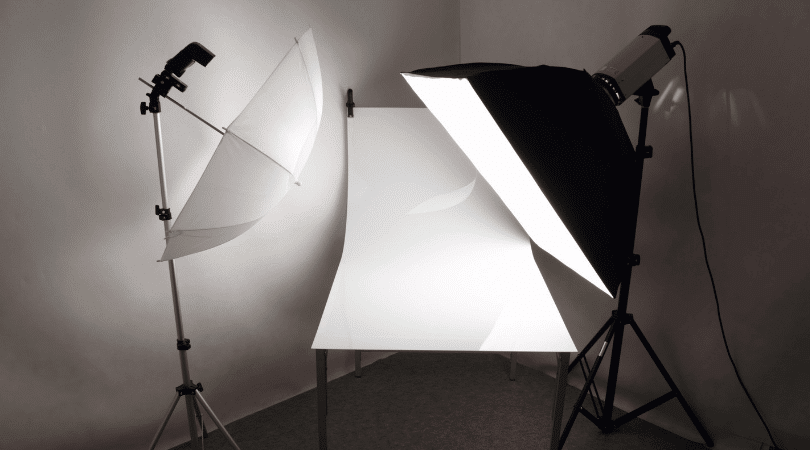
You probably know the umbrellas or giant tripod boxes used in many, if not all, photo studios: The light hits the umbrella, reflects and distributes itself evenly over the object, so the images have beautiful, soft shadows.
The devices with stands are called “light boxes “, which are boxes with a white cloth as diffuser, so that the light can be distributed evenly.
You can also make your own light box for just a few dollars. Find a carton and white cloth or baking paper and you can build your own lightbox. On Youtube you’ll find dozens of tutorials on how to do it.

White Balance
Even if something appears white in nature, this white can be quite yellow or grey on our screens after being photographed.
All light sources have colors, but there is a solution. Try to find “white balance” or “WB” in the software or app you are using.
On YouTube, you’ll definitely find how to adjust your white balance when searching for “White Balance” and your software name.
Problems with white balance are the main reason why photos often don’t look professional.
It’s not about megapixels, white just needs to be white or as close as possible to it.
Contrast with Background
On Amazon, only the main photo must have a white background.
When taking lifestyle photos, remember that areas with high luminance or high light will attract the customer’s eye.
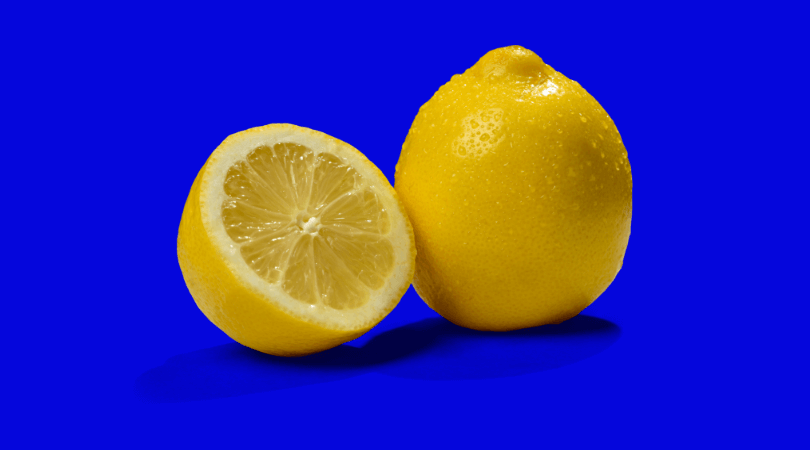
You should choose colors with a lower luminance for the background, but a higher luminance for your product.
The following wheel will help you learn the luminance values:

This can be problematic for those who sell white products.
If your product is white, you should move your light source 1-2 feet away from the object.
This will make your white product look grayish.
In this way, your product can be distinguished from the background, but the consumer can see that it is white.
A few tips on lifestyle photos:
Blue sky has a low luminance and is ideal for the background, human skin has a yellow-orange value that is excellent for differentiation.
Sometimes you have to stick to a certain color, then you can adjust the luminance with the set brightness.
Darkness has less, but brighter fields have more brightness.
Keep the Cam Steady
If you move the camera/mobile phone at the moment of capturing the photo, the image will be blurred.
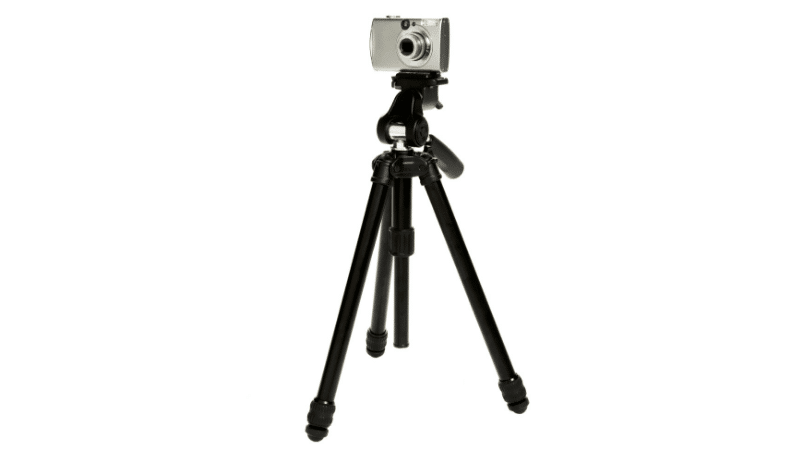
In darker environments, the lenses open for an extended period of time, which increases the likelihood of blurry photos if you are not using a tripod.
You can find cheap ones, but if you’re on a budget, you can always make a DIY solution with books and heavy items from home to keep the lenses stable.
In summary, the less light you have, the more important it is for your camera to stand firmly.

Great Looking Fonts
So now you have stunning photos, but you can still ruin your work with some Comic-sans, Papyrus, Brush Script, Vivaldi or Bradley Hand fonts.
Maybe you think that special or fancy font will give character or spirit for your brand/store, but the opposite is the case.
The less fancy the font is, the better.
You need “normal” fonts. Think about Apple, Nike, or FedEx. They don’t use curly fonts, but still have a nice typography.
Note that most standard fonts that come with your operating system are unattractive to potential customers.
In general, Sans Serif fonts are more beginner-friendly, like Bebas New, Roboto, Bold Font or Dinot (non-free front).
If you have more experience with typography, you can try Serif fonts like Fenix, Serrific or Bree Serif.

Product in Use Photos
When taking lifestyle photos you can show your creativity.
Ask your friends for a favor, go outside somewhere or find some bright room – that’s it.
If you are a beginner or you use your phone, it is recommended to set the camera on “auto” settings.
But in case you want to dive deeper into the matter, there are few rules for ISO camera settings:
- On a sunny day, keep ISO between 100-320
- On a cloudy day keep ISO between 320-800
- For indoor environments keep ISO between 800-1600, depending on the light
To prevent too bright or too dark photos open the display on your camera and move your shutter speed dial left-right until you get the desired light on your display and press the shoot button.
Important to mention is the value of aperture. In short, if you want to have your product in focus with a blurry background, keep aperture on a low value.
This is especially recommended for lifestyle photos, since too many details from the background will distract the customer from the product.
But if you’re shooting on a white background you need to keep aperture on high values.
Nice lifestyle photos will help customers to relate with your product and increase the chance of purchasing.
Bonus: Package Design
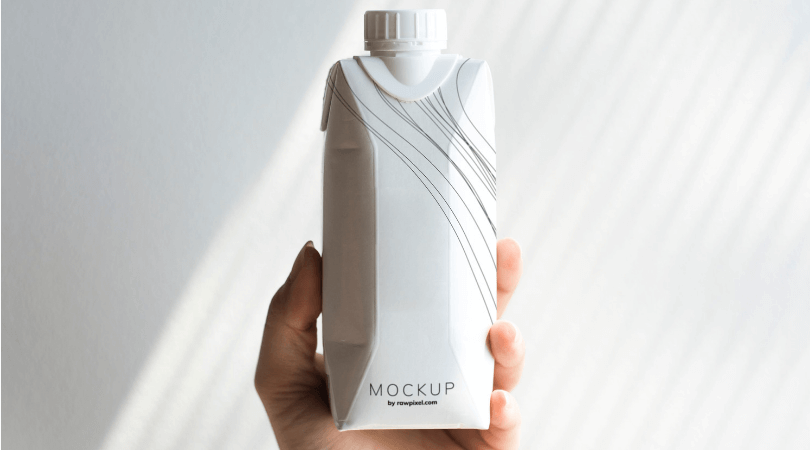
The packaging can have a big impact on the branding of your product.
Remember what was said about fonts before, the same rules apply for package design.
Tips for a beautiful design:
- Put your product photo on the packaging
- Use no more than three different fonts
- Limit the color choice to two main colors
- Avoid too many graphic elements such as badges and icons – less is more.
- Use colors that create a good contrast to the product, complementary colors are a good choice. The Adobe color wheel can help you find the right color scheme.
Conclusion
Now you know something about light, white balance, fonts and the settings of your camera.
Of course, a professional Amazon product photographer can always get the most out of your products, but for starters, you now have a good level of knowledge.
This guide was provided by Pro FBA Images.


